Create Cloud9 instance
Create Cloud9 instance.
In this step, we will access the Cloud9 service administration interface and proceed to create a Cloud9 instance.
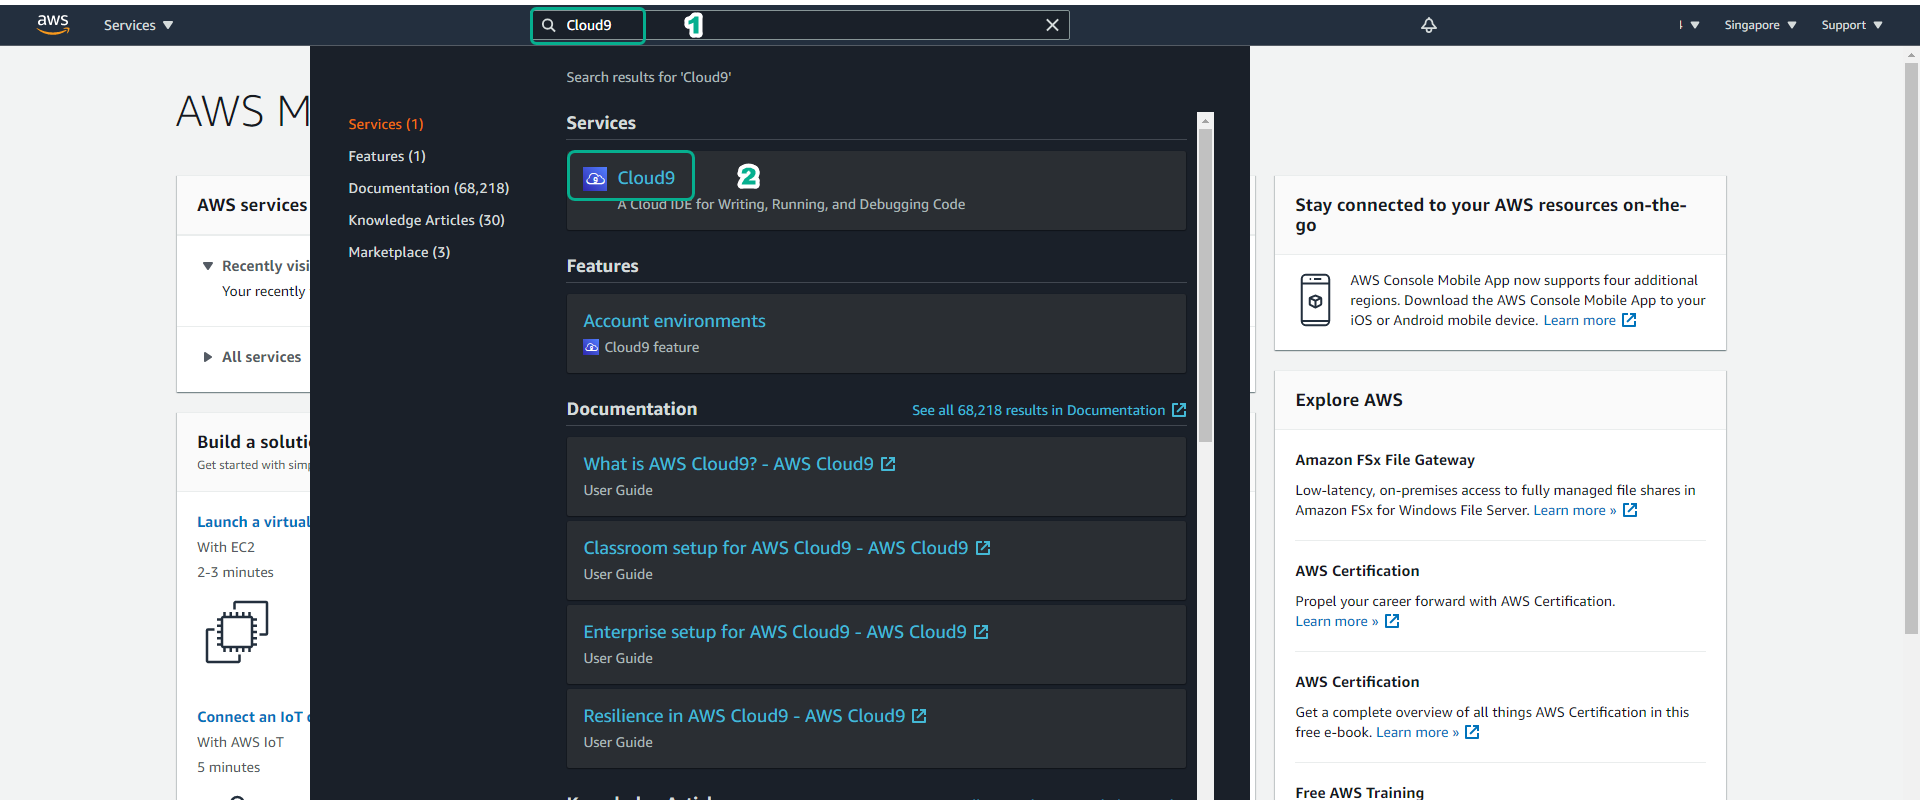
- Sign in to the AWS Management Console.

- Click on the search box, type Cloud9.
- Click on Cloud9 icon to go to Cloud9 admin interface.
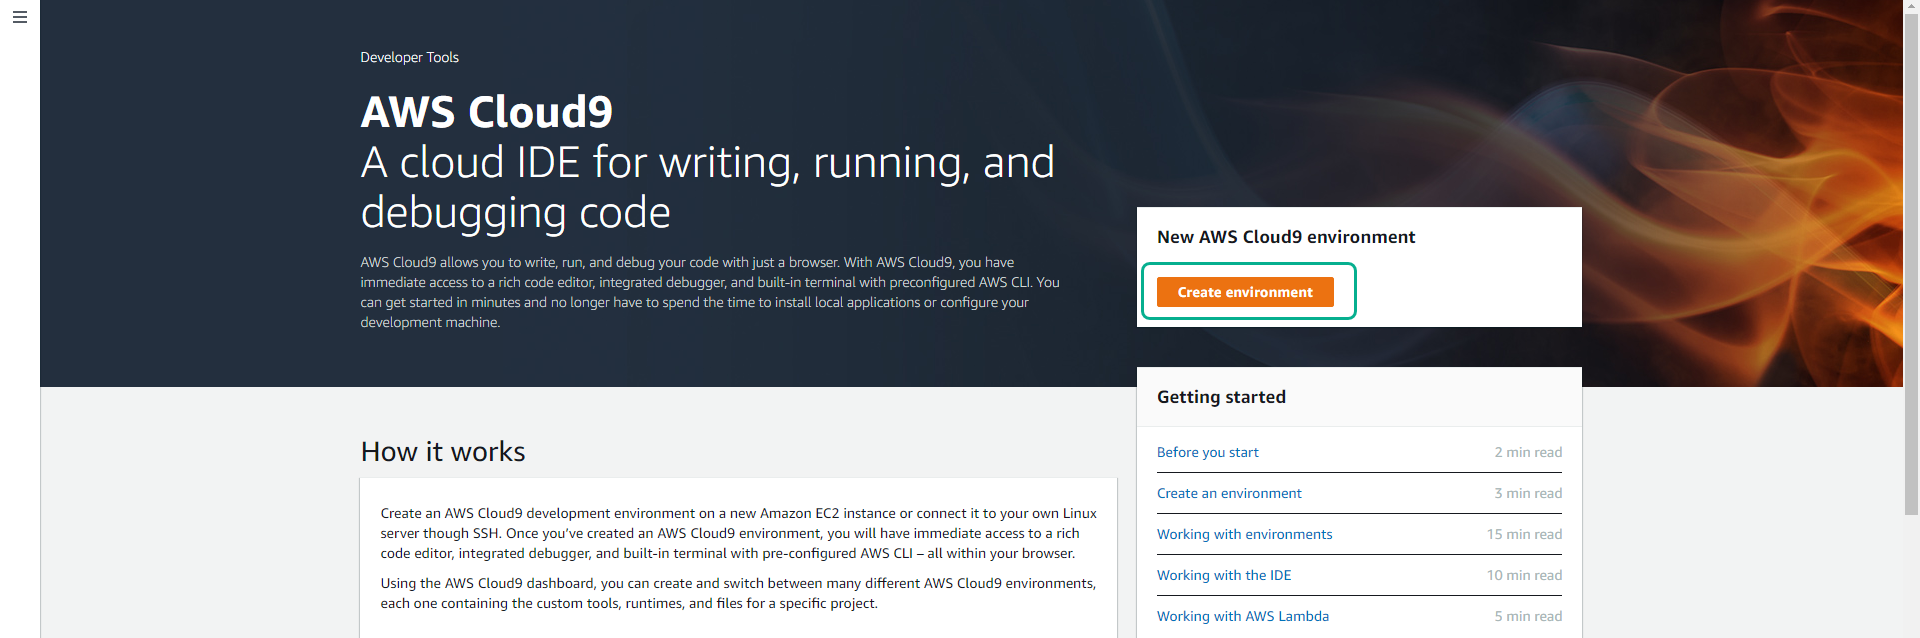
- At the Cloud9 admin interface.
- Click Create environment.
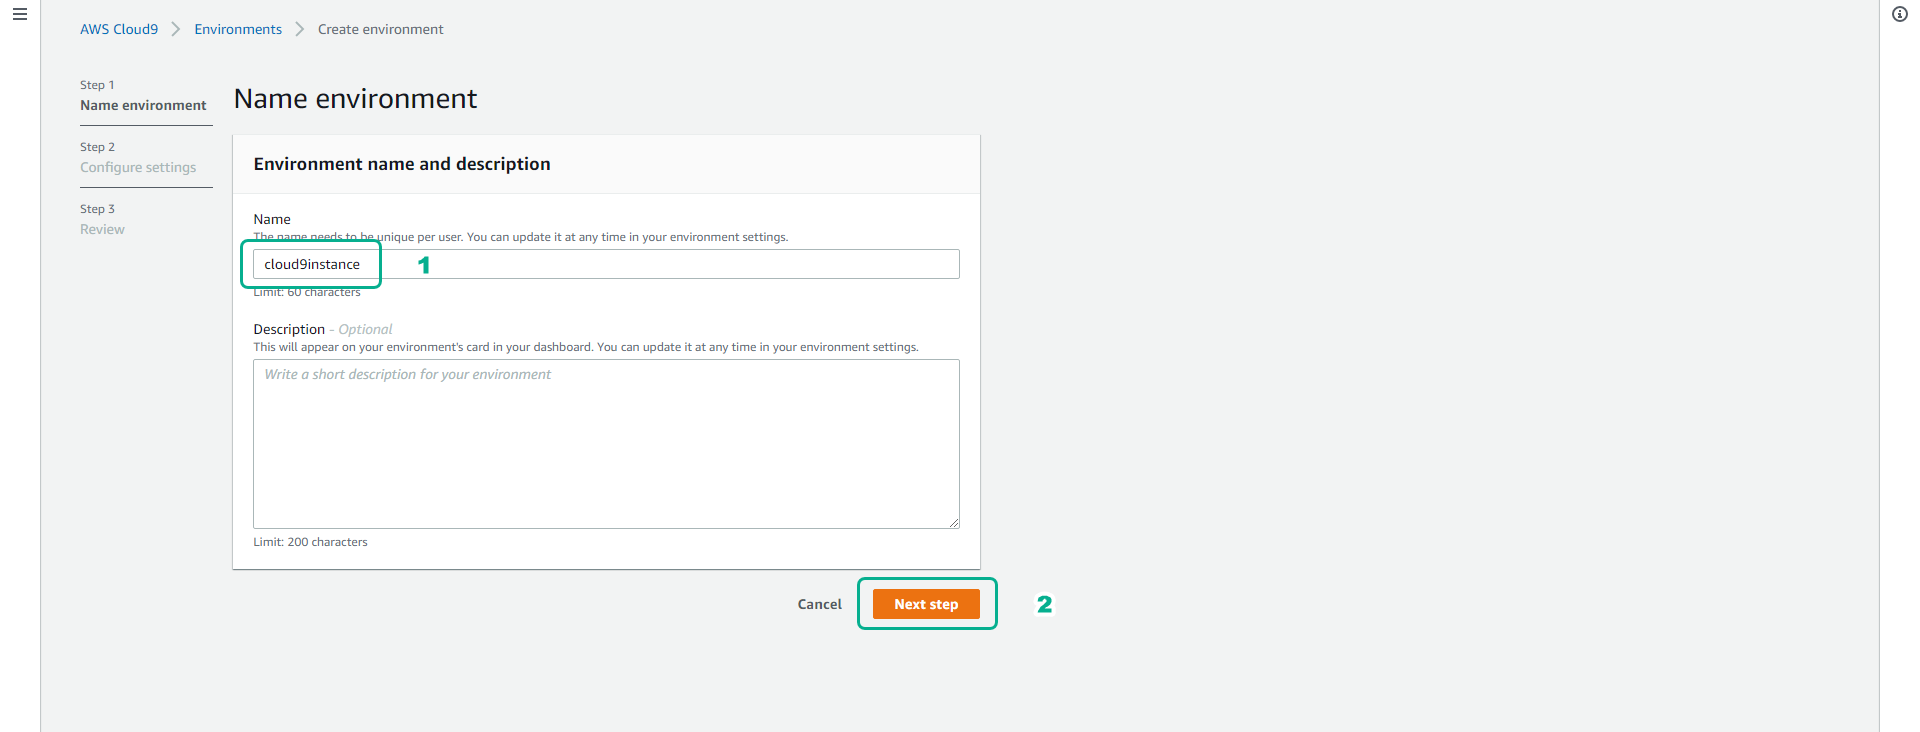
- At Name environment page.
- Name your Cloud9 instance.
- Example: cloud9instance.
- Click Next step.
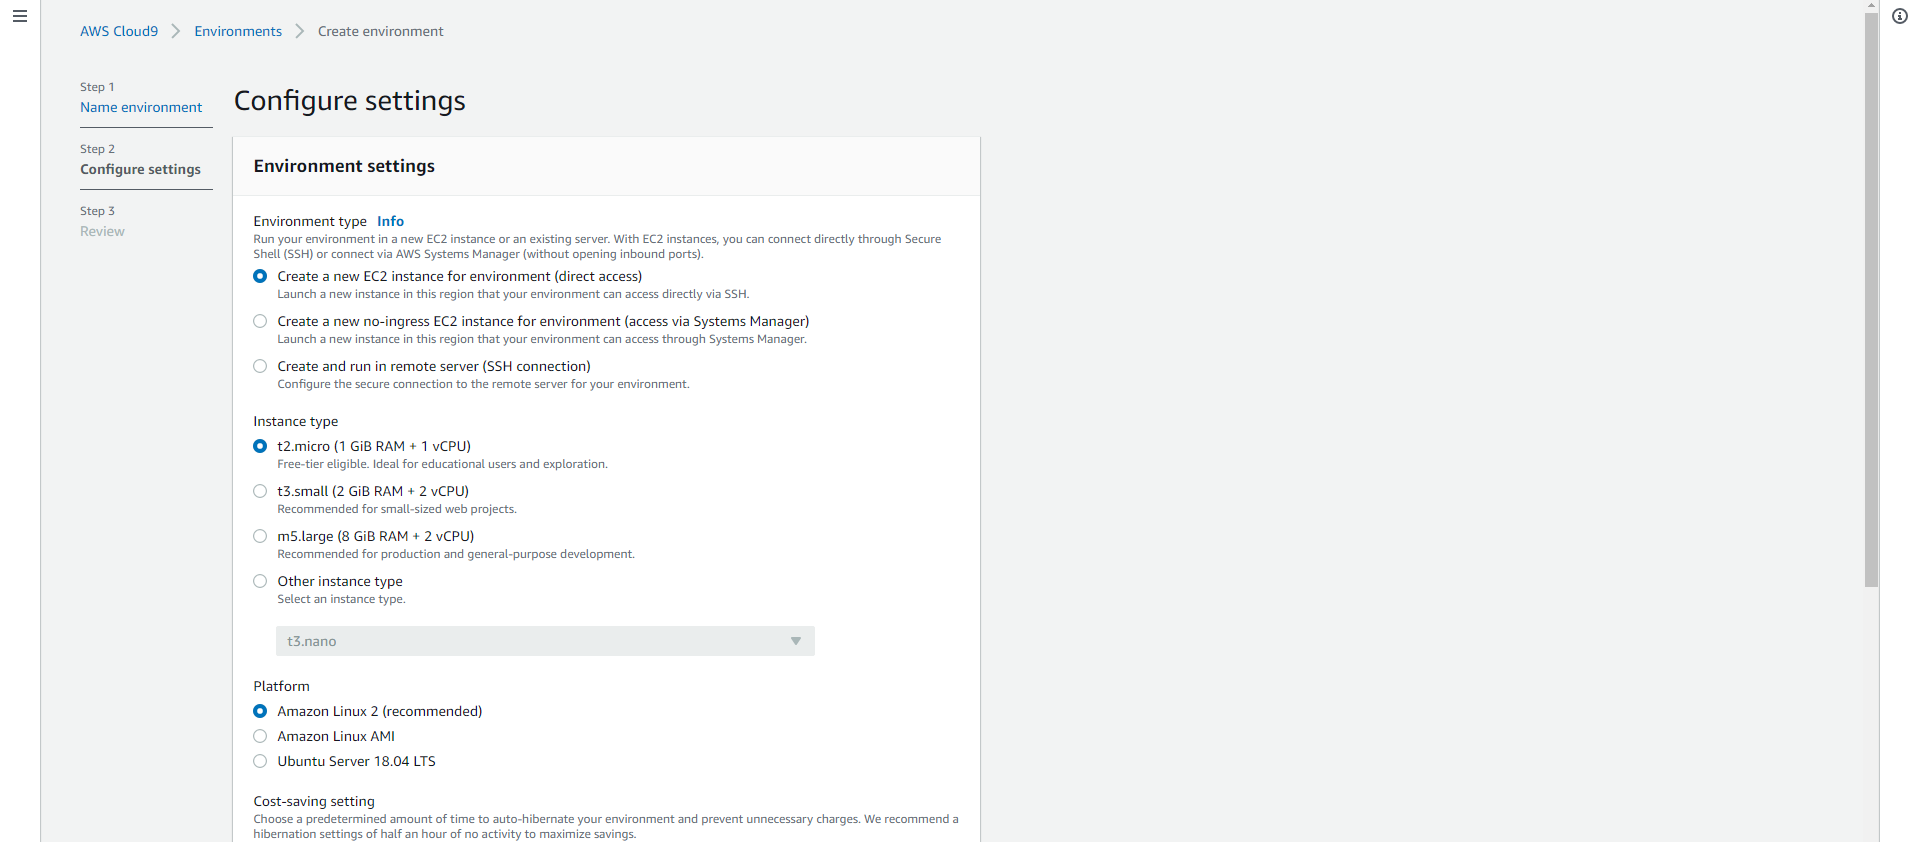
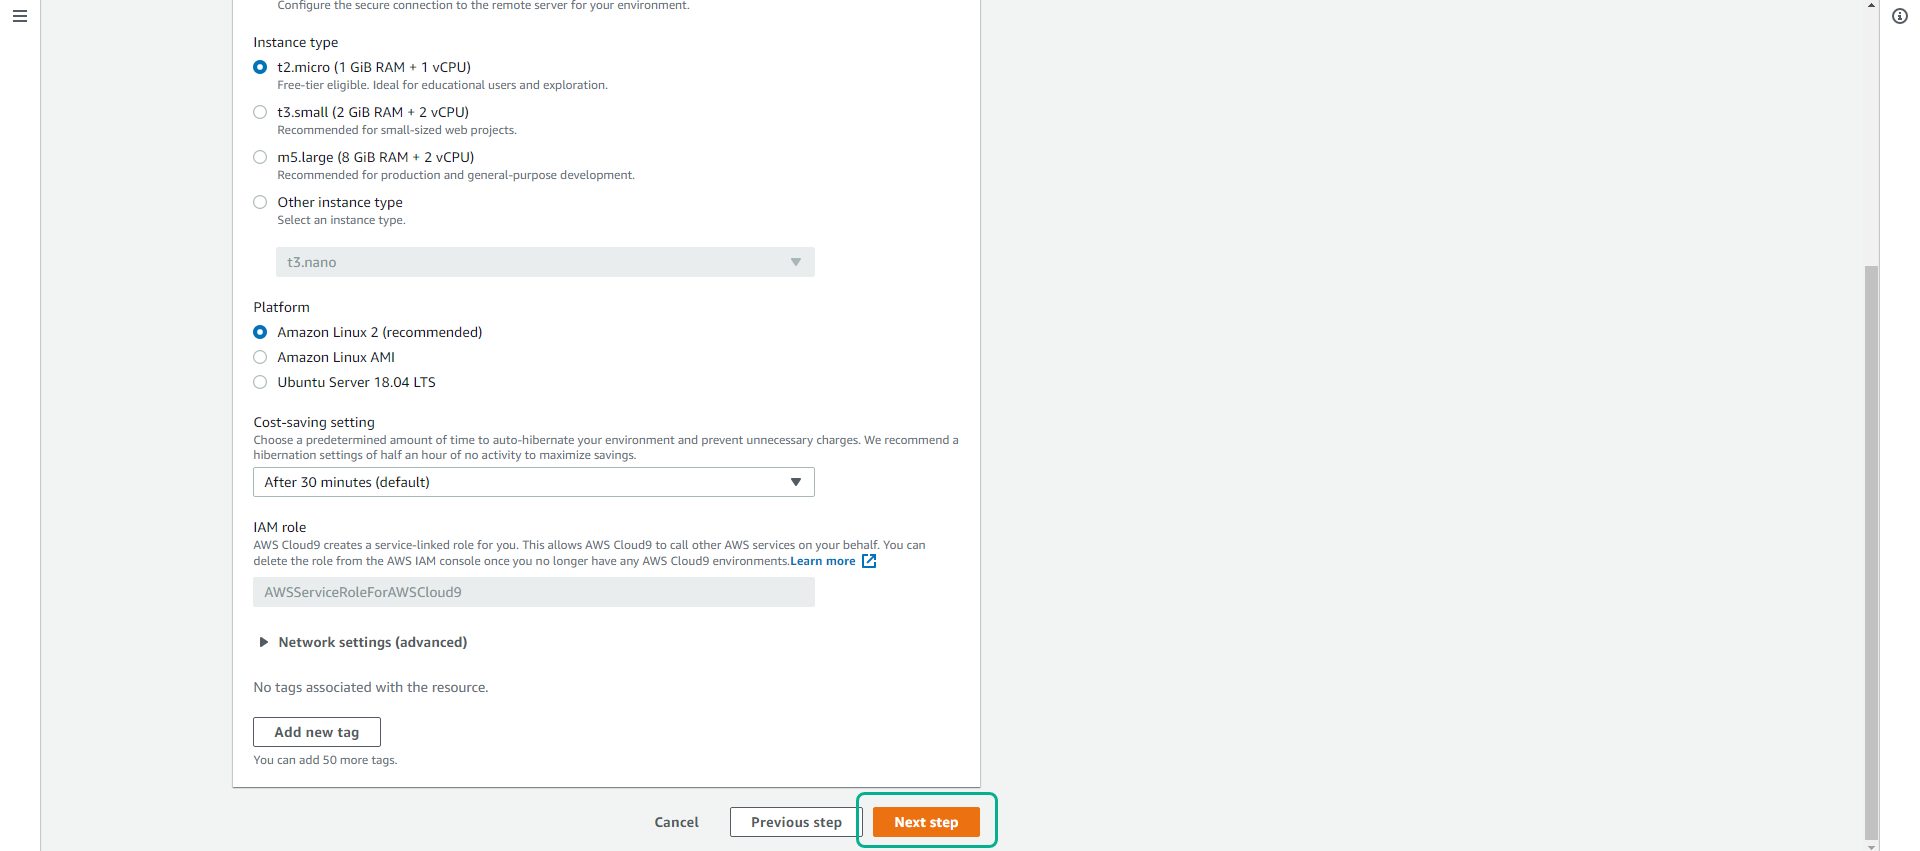
- At Configure settings page.
- Section Environment settings.
- Environment type : Select Create a new EC2 instance for environment (direct access).
- Instance type : Select t2.micro.
- Platform : Select Amazon Linux2.
- Drag down the screen.
- Cost-saving setting : select After 30 minutes. Allows to automatically stop Cloud9 instances to save costs.
- Click Next step.
- At Review page.
- Check the selected configuration.
- Scroll to the bottom of the page, click Create environment.
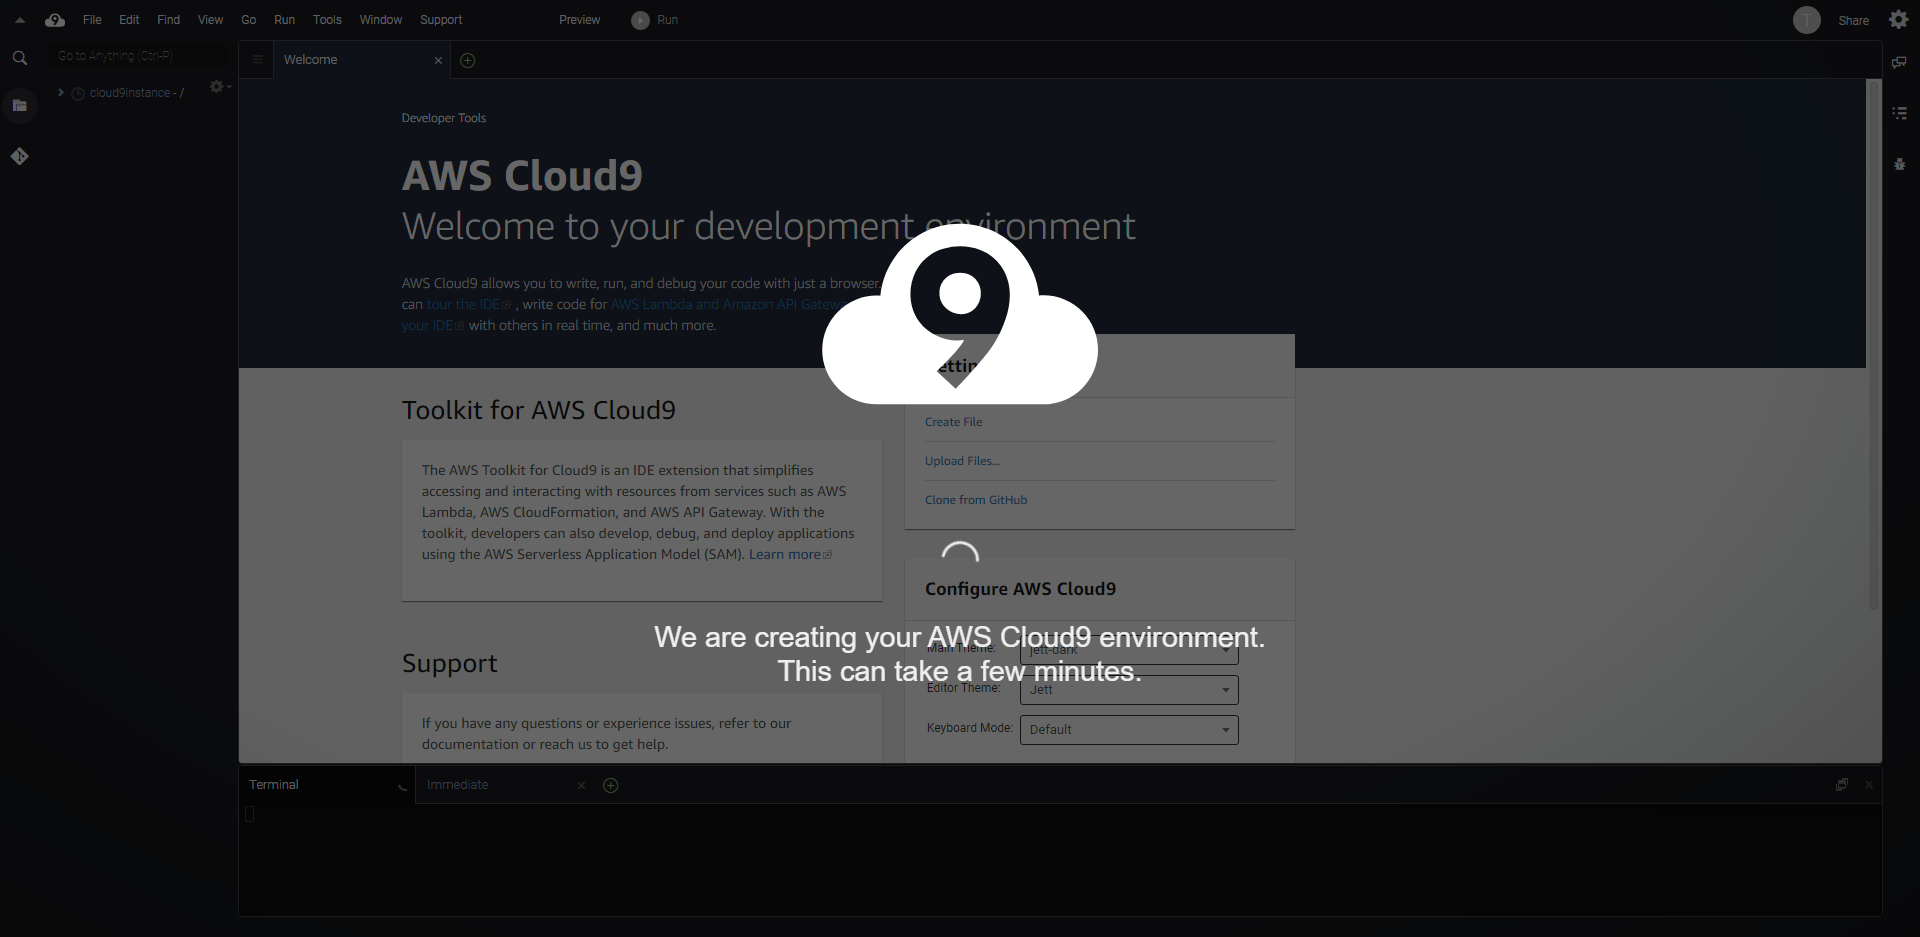
- It will take a few minutes for Cloud9 Instance to be initialized.
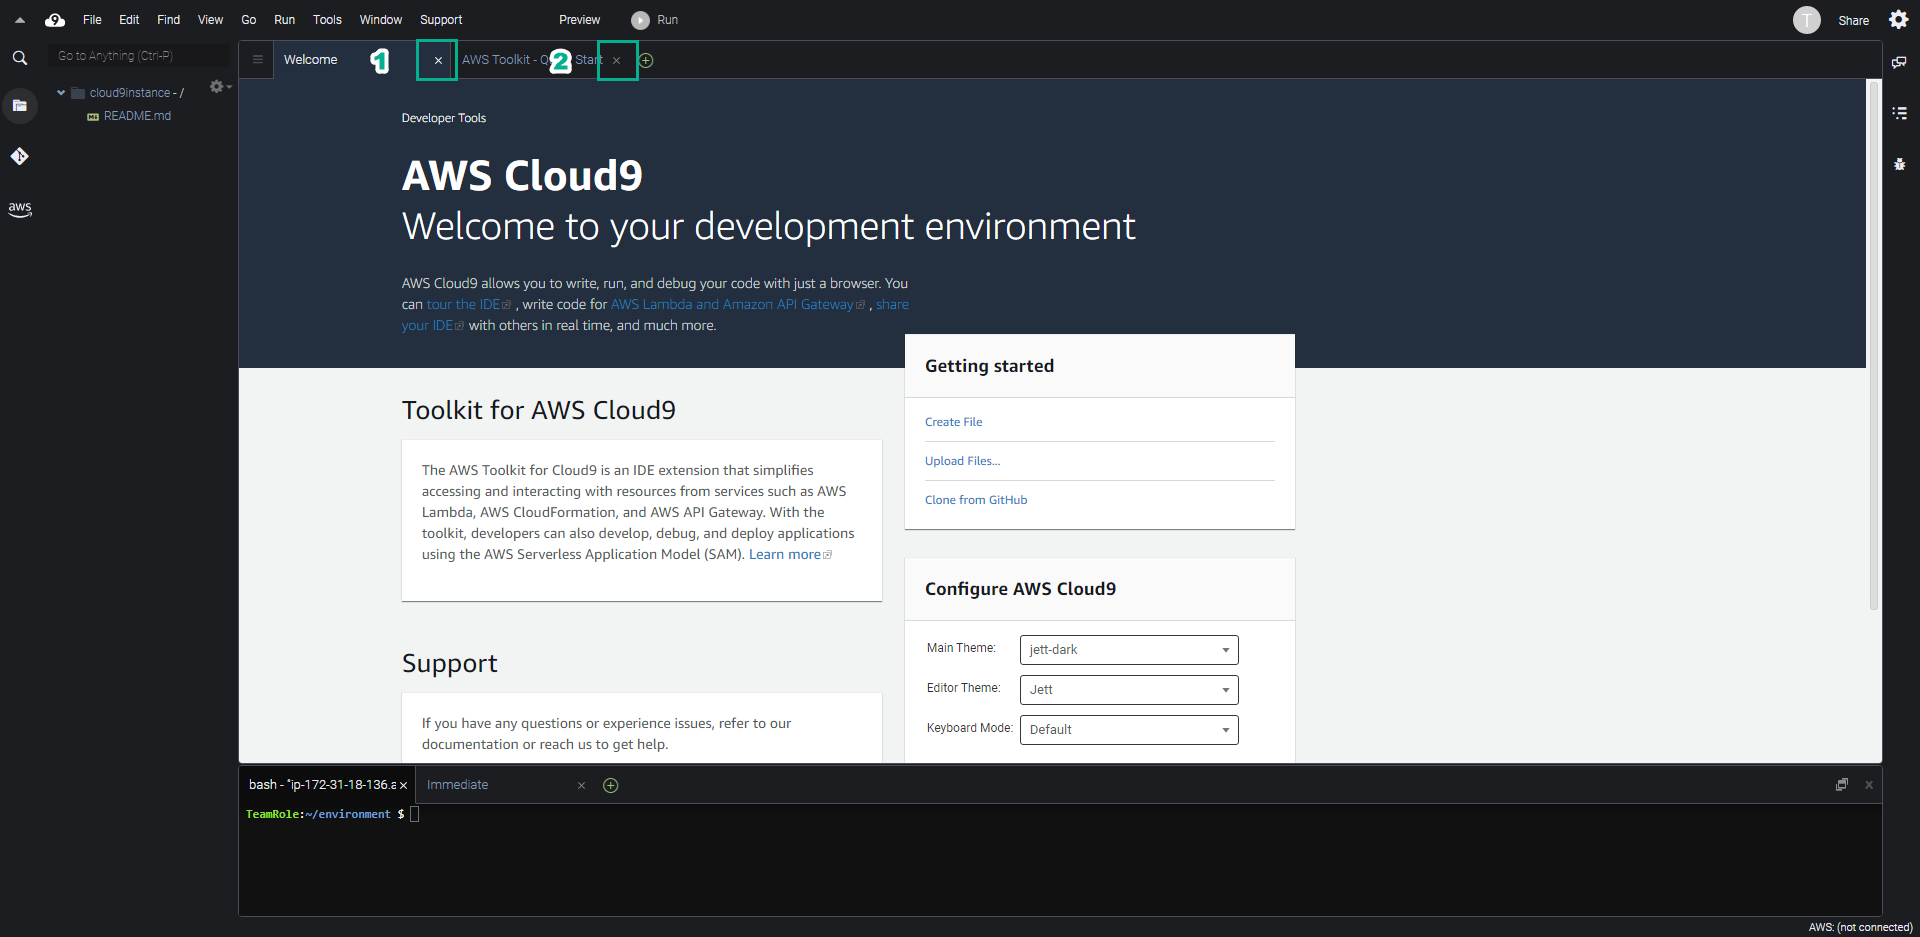
- Click the close icon to close the Welcome and AWS Toolkit tabs if not needed.
Congratulations on completing the creation of Cloud9 instance, in the next steps we will try to perform some basic operations on Cloud9.